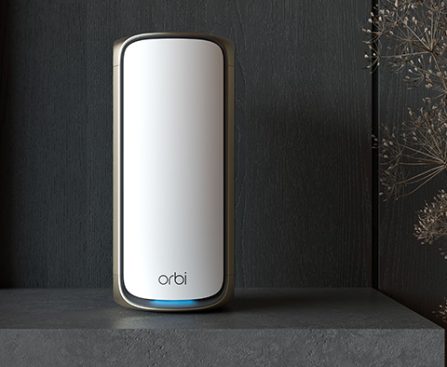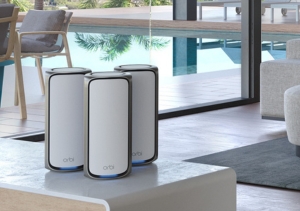

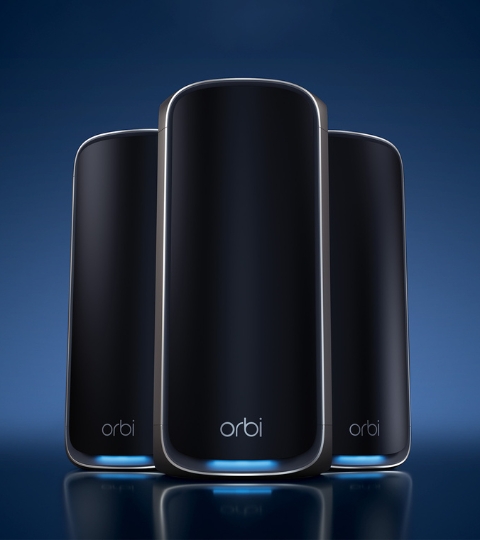
Orbi 970 Series by NETGEAR: Distinctly Different WiFi 7
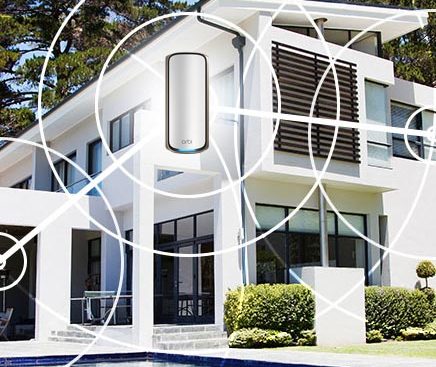
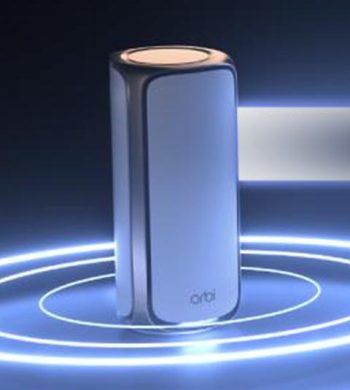
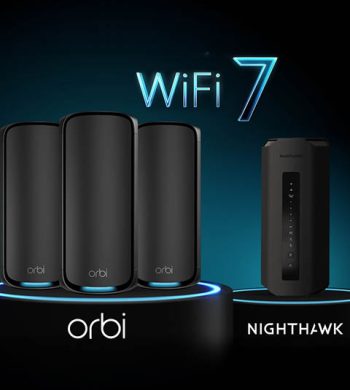
Our latest breakthrough is finally here – Introducing the Orbi 970 Series Mesh System with WiFi 7 technology. With unmatched performance and cutting-edge features, the Orbi 970 Series is set to revolutionize your home WiFi experience.
Read article